
Sunday, March 11, 2012
Hands photgraph
I am posting this photo because I like the composition, the energy, the natural light giving it a luminous quality. It was taken at the museum when I took my class to the Aqua exhibition. From memory it was taken without flash because flash cannot be used in the museum.

Photographs from Session One in 2011
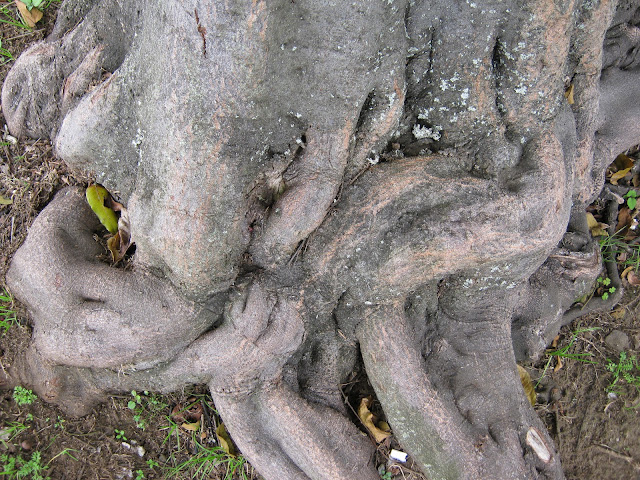
As I couldn't find the photos I took on the first IMPD workshop (they mysteriously went much further up in my my iPhoto collection) I am posting them now. The following photos were the few I liked best from the many I took. They either show the rule of thirds, create an interesting design through placement of shapes, explore nature's textures, show the use of the macro feature of the camera or have an abstract quality that resonates with me. Some demonstrate more than one of these qualities.
At the first workshop I was unable to to get the two stage shutter effect, with part of a photo in focus and part blurry, but I managed to do this at home the following weekend by persevering! (See my experimental photos post).
All the photos below were taken on Manual.


At the first workshop I was unable to to get the two stage shutter effect, with part of a photo in focus and part blurry, but I managed to do this at home the following weekend by persevering! (See my experimental photos post).
All the photos below were taken on Manual.


I know know more than I did at the beginning of the first workshop so I can....

Experimental Photographs at Home- looking for the elusive second shutter effect
 |
| Exploring rule of thirds and quirky juxtaposition |
 |
| Vase and bananas- exploring background and foreground and rule of thirds |
 |
| Still trying for the second shutter effect... |
 |
| Finally have the blurry background effect Stuart showed us |
 |
| Still life focusing on shape, texture, light effects and reflections |
Learning How to Animate with 'Pencil' Programme
Today I learned how to use the tools on the nifty animation programme called Pencil to create a simple animation of a ball bouncing. It was really easy to use compared to I Can Animate and I think children will find it simple to use to animate concepts.
I made two versions and was much more satisfied with the second version I have uploaded as:
I made two versions and was much more satisfied with the second version I have uploaded as:
- the bouncing effect was smoother as I used more frames
- I slowed the time down to 7 frames per second
- the ball was a consistent round size and I only had to make the flattened ball at the ground level to emphasise the bounce
Saturday, March 10, 2012
Charcoal Drawing Techniques
 |
| Still life |
 |
| 10 minute observational drawing using right hand |
This first drawing was difficult to get the proportion correct. I started from the top but didn't really have a strategy to get the correct placement.
 |
| 5 minute, left handed observational drawing |
This exercise was difficult to do with any precision as I am not left handed but the lines were looser than the first observational drawing and more interesting and quirky.
 |
| Blind drawing, 3 mins, using right hand |
This technique produced even more interesting charcoal marks and is has the loosest lines. In some ways it is more successful than the straight observation using the predominant hand.
 |
| Exploring negative shapes |
This exercise was challenging as the negative space had to be thought through to give the suggestion of the still life arrangement simply by darkening around the objects
 |
| Exploring shape and shading |
 |
| Gradation example |
Subscribe to:
Posts (Atom)